
We love it when our customers send us photos of their installations. We were delighted when we received not only some great pictures, but also some short videos from a customer in outer Melbourne, who installed a Greywater Gator Pro. Greywater is too valuable to waste, and installing a Greywater Gator Pro is the easiest way to pump the water onto your garden.
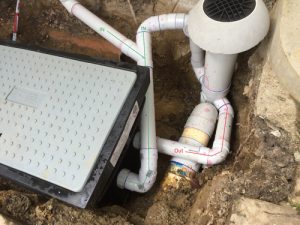
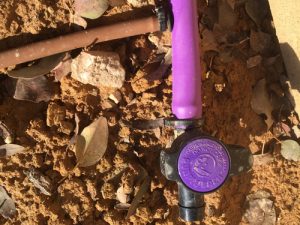
The photos show the installation process. First you can see the plumbing installation of the Gator Pro, showing the inlet and outlet connections.
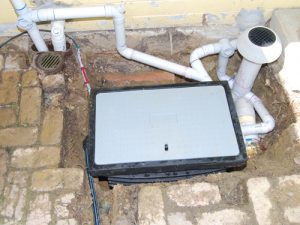
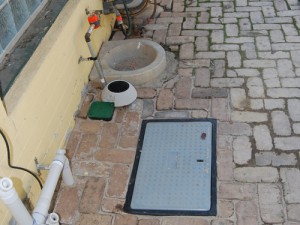
Once the Gator Pro plumbing is complete, the paving around it is restored and the Gator Pro is paved in. It sits flush with the paving, and as it can be walked on, it isn't taking up any extra space - perfect if you have a small yard.
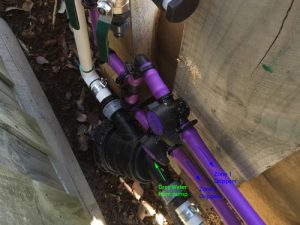
Next we can see the drip irrigation, and the plumbing of the flush valve and the manifold. The photos show the pipe which takes the greywater to the manifold, and then the water being directed to the various zones in the garden.
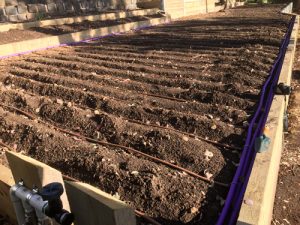
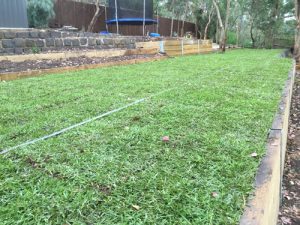
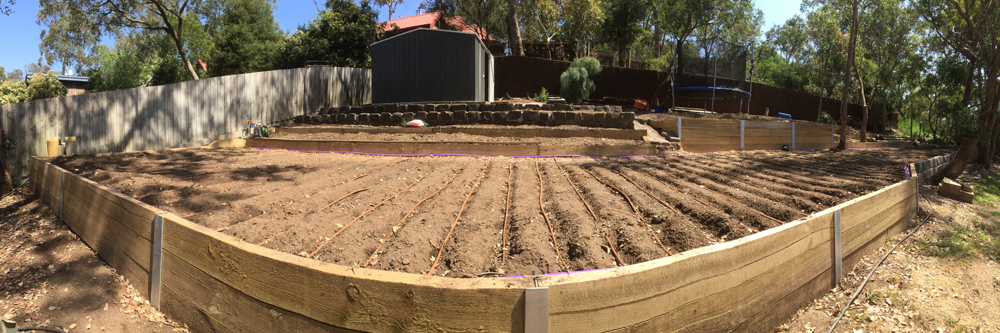
Finally we have photos of the layout of the under turf irrigation, and the garden once the instant turf was rolled into place. These photos are a great way to see how the drip irrigation should be placed. Using the correct spacing between rows of drip tube ensures that the whole lawn will be watered efficiently.
When you're planning to install a Gator Pro or a Maxi 100 it's hard to imagine what the unit is going to look like in your yard, and what to do with metres and metres of drip tube you use to distribute the water. So enjoy this example of how it could be done, and how that might translate to your home and garden.

If you need any more information or advice, please contact us.